A U-Part wig is a popular choice for those who want to add length or volume to their hair without the commitment of a sew-in or the hassle of bonding glue. It is a versatile and convenient option that allows you to wear your natural hair while still achieving the desired style. Installing a U-Part wig is relatively simple and can be done at home with just a few tools and techniques. In this article, we will guide you through installing a U-Part wig step by step.
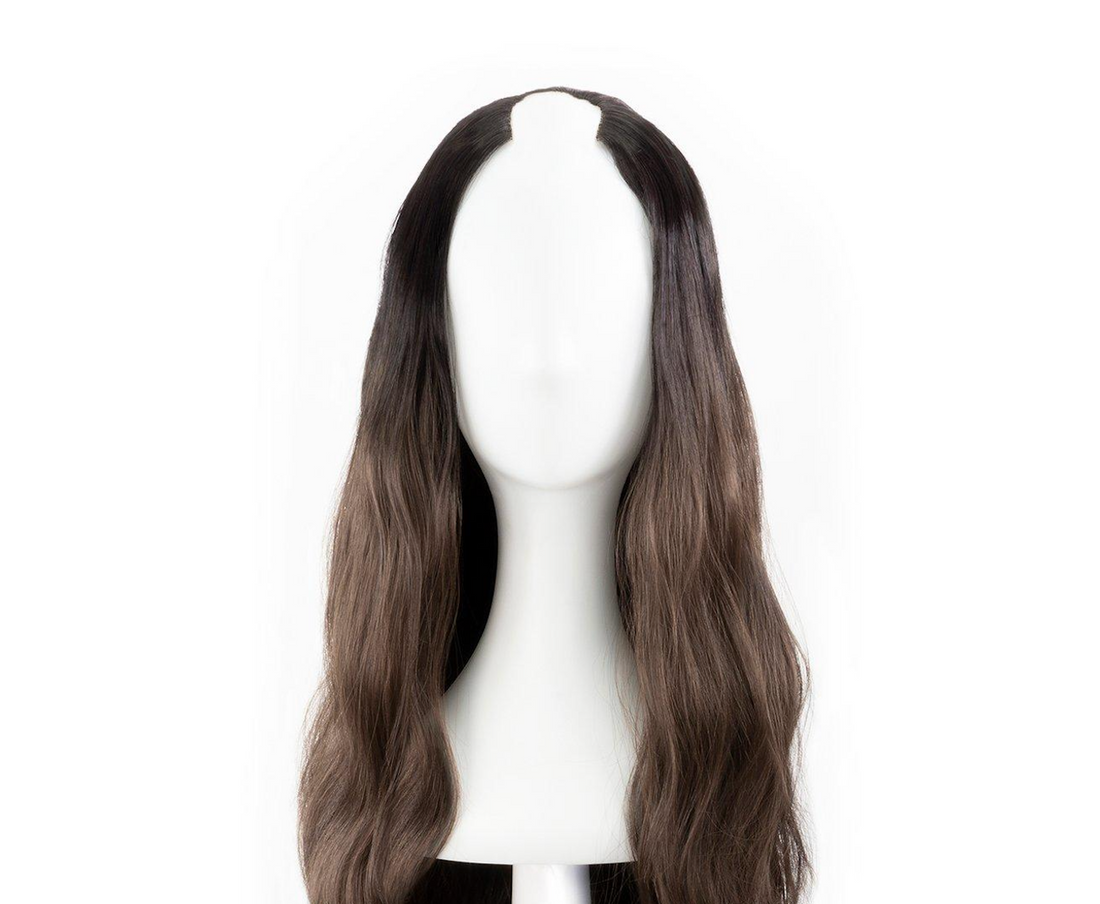
You will need to gather all the necessary tools and supplies. These include a U-Part wig, wig cap, wig clips, needle and thread, scissors, and a comb. Choosing a U-Part wig that matches your natural hair color and texture ensures a seamless blend. Additionally, provide a comfortable fit with the wig cap is the correct size for your head.
The first step in installing a U-Part wig is to prepare your natural hair. Start by washing and conditioning your hair to ensure it is clean and free of any product buildup. Once your hair is clean, detangle it using a wide-toothed comb or a brush designed for detangling. This will help minimize tangling or matting when the wig is installed.
Next, you will need to braid your hair. Section your hair into small, neat braids. The number of braids will depend on the size of the U-Part wig and the amount of natural hair you have. Ensure the braids are flat against your scalp and secure them with small rubber bands or hair clips. This step is crucial as it provides a solid foundation for the U-Part wig to be attached to.
After braiding your hair, put on the wig cap. The wig cap helps to keep your natural hair in place and provides a smooth surface for the wig to be attached to. Ensure the wig cap is secure and snug on your head, ensuring all your hair is neatly tucked inside.
Now it's time to attach the U-Part wig to the wig cap. Start by placing the wig on your head, aligning the U-shaped opening with your natural hair part. Use wig clips to secure the wig to the wig cap, ensuring it is secure and comfortable. Adjust the wig as needed to ensure it is positioned correctly and covers your natural hair completely.
Once the wig is securely attached, you can style it. Use a comb or brush to blend your natural hair with the wig for a seamless look. Depending on your desired hairstyle, you can use heat styling tools to curl or straighten the wig. Be sure to use heat-protectant products to prevent any damage to the wig.
To further enhance the natural look of the U-Part wig, you can trim the wig to match your desired length and style. Use sharp scissors to trim any excess or uneven hair, taking small sections at a time. Be cautious not to cut too much off; you can't add it back once it's gone.
Lastly, make any final adjustments to the wig and ensure it feels comfortable and secure on your head. Add wig clips or secure it with bobby pins for extra stability. Take a moment to style and fluff the wig to your liking, and you're ready to rock your new U-Part wig!
Installing a U-Part wig is a simple process that can be quickly done at home. With the right tools and techniques, you can achieve a natural-looking and versatile hairstyle without the commitment of permanent extensions. Whether you want to add length or volume or switch up your look, a U-Part wig is a great option.
Installing a U-Part wig is a relatively straightforward process that can be done at home with just a few tools and techniques. Following the steps outlined in this article, you can achieve a natural-looking and versatile hairstyle without the commitment of permanent extensions. Whether you want to add length volume or switch up your look, a U-Part wig is a great option.